How to Claim Your Listing
Claiming your venue listing on VowVenue.com ensures that you can manage and optimize your venue’s online presence. Below is a step-by-step guide to help you easily claim your listing and take control of your venue’s details.
Step 1: Create or Log In to Your Vendor Account
- Visit VowVenue.com
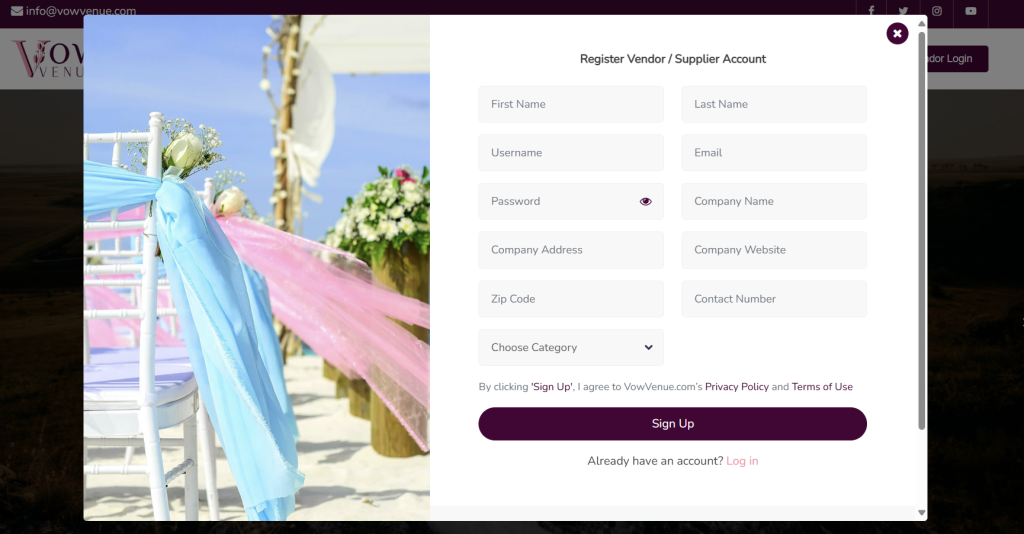
Navigate to https://vowvenue.com/ and locate the Vendor Login button in the website header. - Create a Vendor Account
- If you don’t have an account, click on the Join now link to create a new vendor account.
- After registering, you will receive a verification email. Click the link in the email to verify your account.
- Log In to Your Vendor Account
- Once your account is verified, return to VowVenue.com and log in using the Vendor Login button.
- Activate the Free Plan
- Upon logging in, you’ll land on your vendor dashboard. Activate the Free Plan to start managing your venue. This plan is completely free of charge.
- Update Your Profile
- We highly recommend visiting the My Profile page in your dashboard to update your contact and business information.
- Under the Business Profile section, fill out all relevant details. This information will be displayed on your venue listing and will help couples contact you directly.
- You can also update your social media links, upload a brand image, and add a venue banner image. While these are optional, they are strongly recommended to enhance your listing.
Step 2: Finding Your Venue Listing
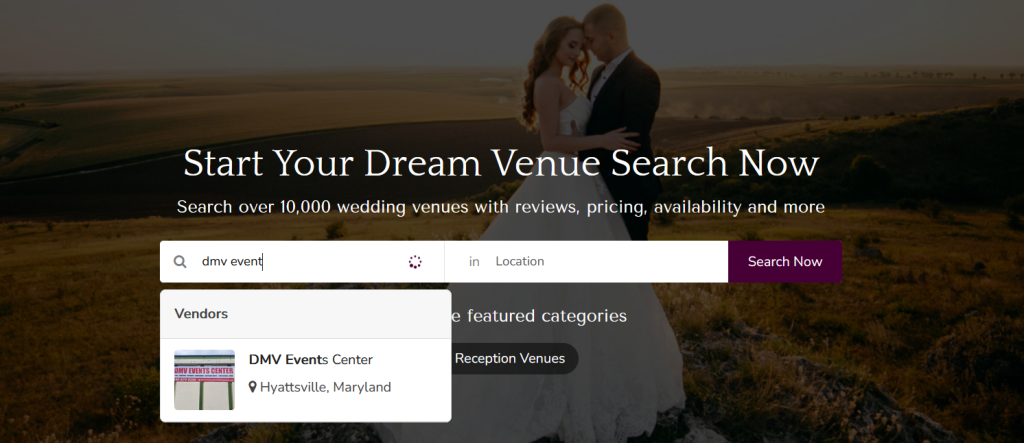
- Use the Search Bar
- On the VowVenue homepage, use the search bar to find your venue. Type the name of your venue in the Search By Venues field.
- As you type, a dropdown with matching venues will appear. Select your venue from this list to go to the venue’s listing page.
- What if Your Venue Isn’t Listed?
- If your venue does not appear in the search results, it means it hasn’t been added to VowVenue. In this case, log in to your vendor dashboard, where you’ll find an option to Add a New Listing.
- Direct Link from Email
- If you’ve received an email from us as part of our campaign, we’ve included a direct link to your venue’s listing page in the email. You can click on that link to go straight to your venue’s listing and start the claiming process without needing to search for it.
Step 3: Claiming Your Venue Listing
- Visit Your Venue Listing Page
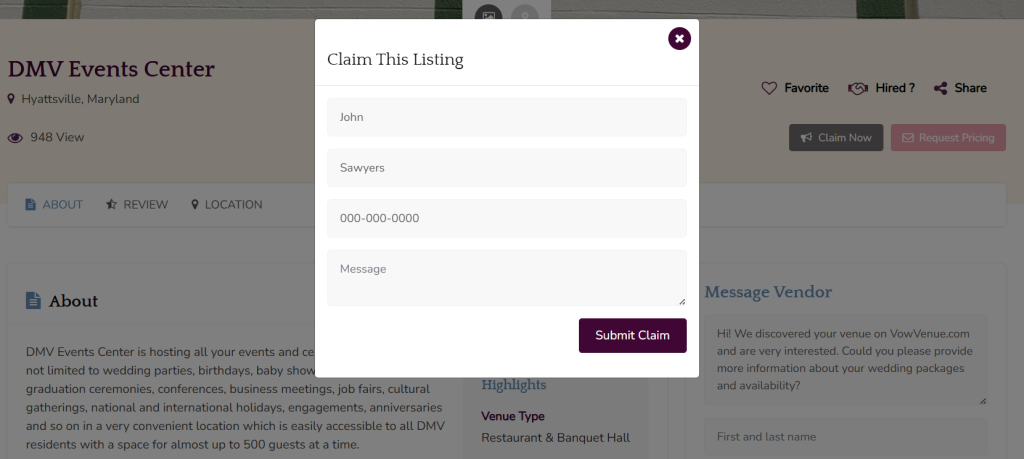
- Once you’ve found your venue’s listing page, look for the Claim Now button located underneath the venue’s image banner.
- Submit Your Claim
- Click on the Claim Now button, and a claim form will appear.
- If you’ve already updated your profile, your contact information will auto-fill. You just need to write a brief message that helps us verify that you are the rightful owner of the venue. This message is crucial for speeding up the approval process.
- Finally, click on the Submit Claim button.
- Wait for Approval
- After submitting your claim, our team will review your request. Approval typically takes up to 24 working hours.
Need Assistance?
If you need any help claiming your listing, have any questions, or require assistance with anything else, please don’t hesitate to reach out to us at info@vowvenue.com.